Tuesday, June 24, 2014

You should be eating your lawn!!


No I am not kidding!

Your yard is full of great edible "weeds".  Here are a few I found in my yard. 
Plantain is very high in iron and it grows everywhere!
Blanche the leaves and then saute in butter just as you would any other green.


Dandelion, yes that annoying plant you are always trying to kill! Stop killing it eat it! Every part of the dandelion plant is edible. The leaves can be used in a fresh salad, the flower can be battered and fried, and the root can be made into dandelion tea.  Dandelions are full of vitamins including Vitamin A, C and Beta carotene.   


Red and White Clover are also every where. Their blossoms can be used as a tea and the greens in a salad. They are good for detoxification, decongestant,and they reduce inflammation. They are also full of vitamins including
 Vitamin A,C,B-2,B-3,calcium, chromium, lecithin,magnesium, and potassium.


Some other "weeds" that I dont have pictures for but that are also good for you are purslane, nettles and lambs quarter.  

Why woudl we share this with you?? Because we found seeds for these "weeds" on an heirloom seed website!! 
http://www.rareseeds.com/purslane-blog-/

*Rachel Crawley*


Tuesday, June 17, 2014

Bone Broth!

Okay I promised to tell you all about my Bone Broth adventure!  Remember I had to clean out my freezer and I had a bag full of tallow to cut up?  Well I also had a large bag of bones, Do you know how many bones a half a cow has?? ALOT!! So we made broth!! Yes with bones!

First we roasted the bones at 325 degrees for about 20 minutes. Then we placed them in cold water with 2Tb vinegar (to help pull vitamins and minerals from the bones) per pound of bones for 20 minutes. Then we added carrots, celery, onions, and whatever other veggies and herbs you desire and 1TB Salt and bring to a boil. Then reduce temperature to a simmer and let cook for 48 hours. I took my broth and put it in the oven at 200 degrees and let it cook the 48 hours.


This looks lovely doesn't it? Don't worry it will be delicious and beautiful when you are finished. 
After your broth has cooked for 48 hours strain with a fine mesh strainer into jars and refrigerate. The fat should come to the top and harden.  After it does remove the fat and then preserve your broth in any method you desire or just use it for soup!! 

I chose to can my broth. We made 15 pints. It tasted fabulous and it looks beautiful in my jars!! 
*Rachel Crawley*

Tuesday, June 10, 2014

Home Rendered Beef Tallow! It is Easy!

This fall we purchased a side of beef and I decided to keep everything! The organ meat, the bones, and the fat. I paid for it why shouldn't I take it all?

But it sat in the freezer until I had 30 organic chickens to put in there and I no longer had room! whoops!  But I didn't want it to all go to waste so what did I do I rendered the tallow and I made bone broth! (I will share about my bone broth in a later post)

So for rendering tallow here is what we did.

First we cut the fat into 1 inch cubes then we put it in the pans we planned to use. We had ALOT of fat so we tried 2 different methods.

  1. we used the crock pot on a low setting and let it cook all day and all night. The next day we strained it off and salted the cracklings (all of the stuff that comes to the top) and the kids snacked on them.
  2. The second method we actually liked a lot better.  We filled a roasting pan with the fat and covered it and then we placed it in the oven at 350 degrees for about 7 hours.   The cracklings were much crispier in this batch and we got a lot of tallow!  


First we cut the fat into about 1 inch cubes.
Rendered tallow before it had cooled.


After it cools it turns a very white solid color and can be used any way you would use shortening or oil to cook with.  

Why render your own tallow?? 

  1. It is super easy!
  2. It is cheaper than buying other healthy fats. approximately $5.00/gallon if you are buying grass fed fat from the store.  Coconut oil cost around $50.00/gallon.
  3. It is resistant from damage of heat when cooking.
  4. It makes the best homemade french fries in the world! 

Thursday, May 15, 2014

Why Are My Eggs Dirty?!


Most of our customers have probably noticed that we do not wash our eggs before sending them with you, but I bet you don't know why!   We do have a reason! We aren't just being lazy.  LOL

So here is why we do not wash our eggs.

Did you know that egg shells are porous?   God designed them to have a micro membrane coating on them called “bloom” to keep baby chicks and their environment safe and clean.  Bacteria has a hard time getting inside a dry egg. Washing dirty eggs removes the bloom and invites bacteria into the egg. Washing eggs in cool water actually creates a vacuum, pulling unwanted bacteria inside even faster!  So we don't wash our eggs because we believe it is safer for you.  

We do recommend that you wash your eggs with warm water before cracking them into your skillet.  


One of these eggs is not a farm egg! Do you know which one??

Thursday, May 8, 2014

Finally Spring!

Its Spring Finally! and we are so excited to be getting our first CSA share ready for pickup or delivery!  This weeks share is a little smaller due to some frost damage but expect it to be just as delicious.  And expect more to come in the next weeks as the weather improves.


1.    Red ursa and nero kale mix
2.    Farm fresh eggs
3.    Romaine lettuce
4.    Tom thumb
5.    Rapini
6.    Mint
7.    Dill


With some new items you are probably wondering what to use them for?  Here are a few of my favorite ways to use some of the veggies and herbs.


Brewing Mint Tea

  Mint 

One of my favorite things in the spring is fresh mint leaves to make mint tea.  Take about 4 sprigs of mint place in a quart jar and fill with boiling water. Let steep approximately 5 minutes and sweeten with your choice of sweetener. Delicious!!

Dill

A family favorite with this herb is dill buttered carrots. Steam baby carrots until just tender and then toss with butter,sea salt and fresh dill. This is an amazing side that even my biggest carrot hater enjoys!

Kale

This is also a family favorite! We love to make kale chips by placing leaves on a cookie sheet and drizzling with olive oil then lightly sprinkling with sea salt. We bake ours for about 15 minutes at 450 degrees. Just watch them close,  they will burn quickly! and who wants burnt kale chips?  We also like it sauteed with olive oil, salt and maybe some garlic.

Sunday, May 4, 2014

Weekly Farm Update

          Notice how full his crop is!
                                                                                          They are moved to fresh grass daily!  This is their first day out of the brooder pens and in the chicken tractors, I think they loved the grass!
The chicks are now in fact 3 weeks old, which I had said they were last week!!  Sorry for the misinformation, got my dates messed up!  Anyway the chicks actually arrived at our house on April 10th!  We still have all 130!!  I will try to post our feed ration in the next week or so!
Here is a picture of our small oat "field" so kindly left behind from the two red wattle pigs.  We raised them to butcher weight of about 340 pounds apiece in a moveable pen.  We will have you follow along when our two new pigs arrive in July or August!
 Rhodos Endive
 Red Iceberg lettuce
Tom Thumb lettuce

We are getting close to harvesting these!

Wednesday, April 30, 2014

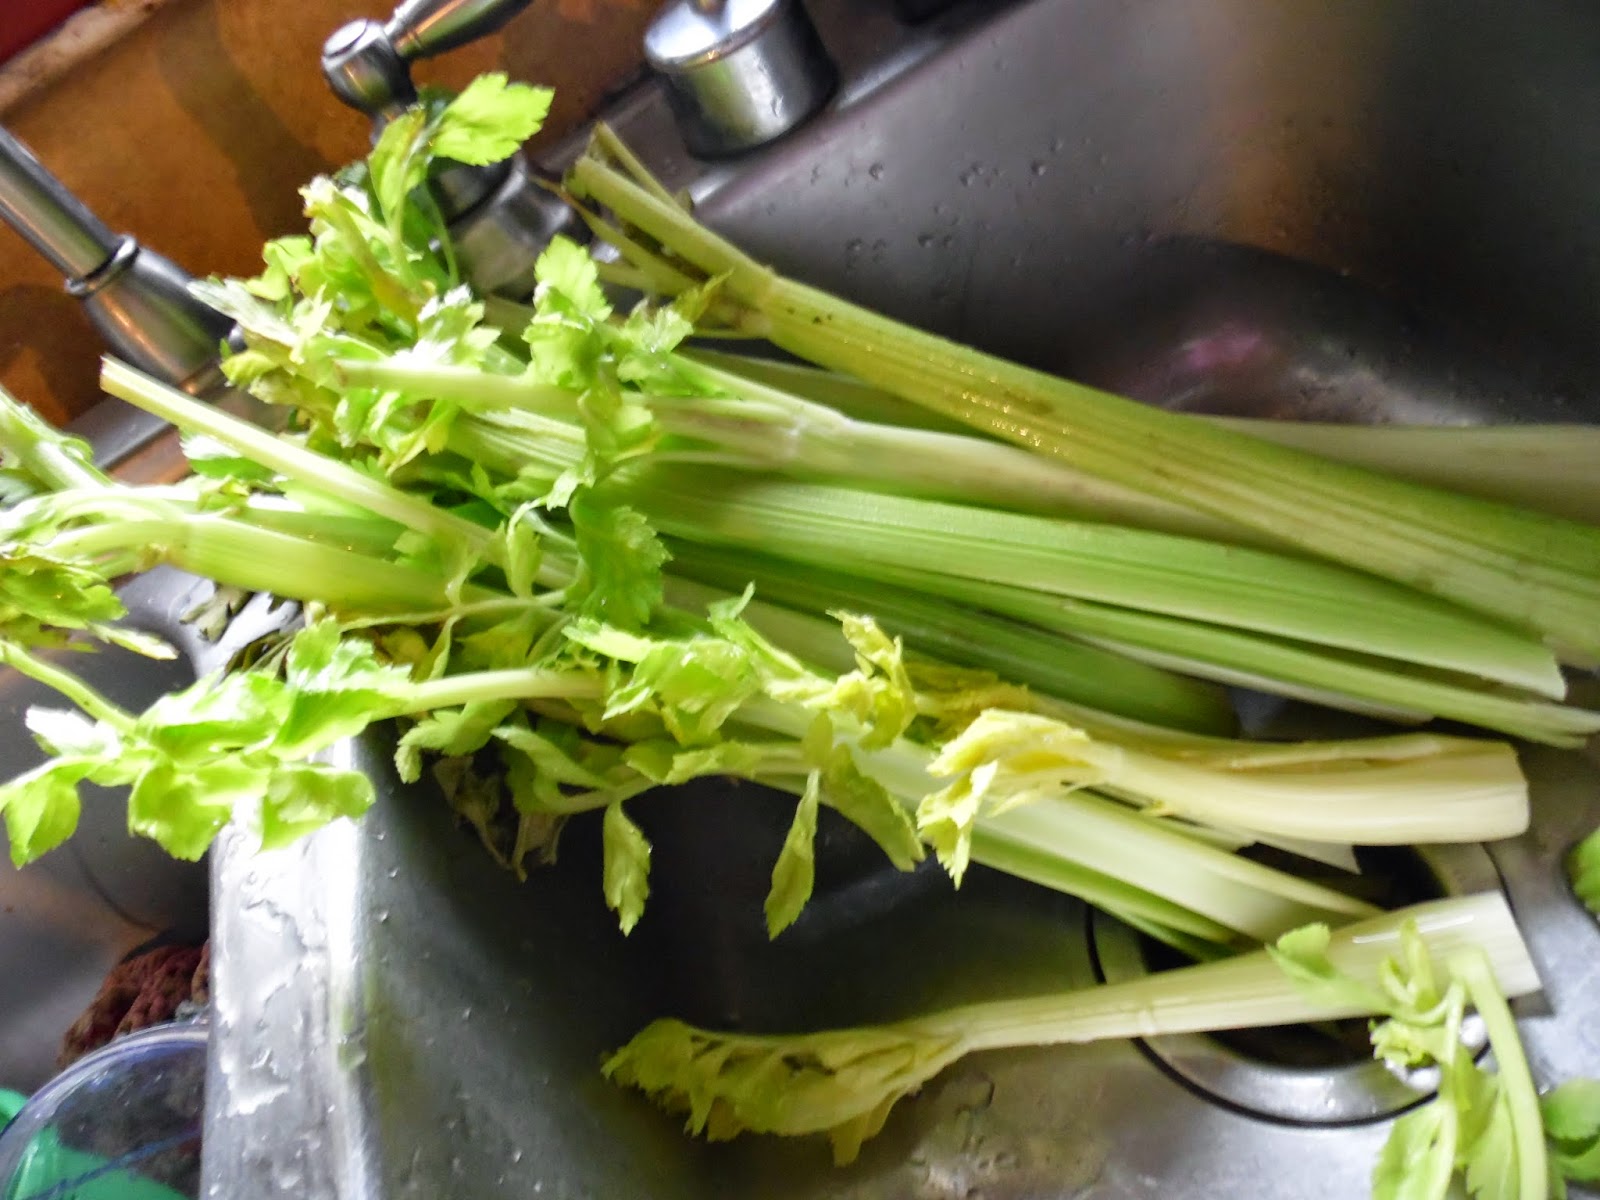
What To Do With 30+ Heads Of Celery?

Bottoms cut off, put in compost bucket and stalks rinsed
In the box they were shipped in.


First let me start off by saying I LOVE Azure Standard! https://www.azurestandard.com/ and if you happen to be a local to me let me know and I can help you get started ordering from them.  (For those not local to me, you can do a search on their site and see if there is a drop near you!)
So, they had a special on celery this time, 1 case (about 32 or so heads) of organic celery for $11.00, yes only about 33 cents a head!  Guess what I did?  Yep, I ordered a whole case!

                                                  First I fed some to the munchkins!
                               Then I chopped until I thought my hands were going to fall off!
                              Filled both dehydrators!  Some will be ground in to celery powder.
  And some for the freezer (17- 1 cup bags to be used to flavor soups and other such goodness later)
                  We also put a couple in the fridge for snacking and gave several away!


Tuesday, April 29, 2014

Orchard is in Bloom! + A Recipe


See if you can identify the blossoms?  I love this time of year when new life is so abundant. I love to walk through the fruit trees and hear the bees buzzing and smell the soft scents floating in the breeze of all the fruit trees (albeit lately the breezes have been anything but soft and the scents are almost being completely  masked by the scent of the spring rains).  So tonight as I was out taking these few photos before the blossoms all disappear the following recipe came to mind!

Family Favorite Apple Crisp
10 baking apples peeled, cored and sliced
1 c. brown sugar (although I don't use quite that much)
1 c. regular oatmeal
1 c. flour
2 tsp cinnamon
1 1/2 stick butter, softened
1/2 c. apple juice

Preheat oven 375*

Put half of the apples in a greased 9x13 pan.  Blend together remaining ingredients, except the juice.  Crumble 1/2 the flour mixture over the top of apples.  Repeat.  Pour the juice over the top and bake for 35 to 40 minutes!  Serve warm with vanilla bean ice cream.

PS from top to bottom cherry, peach and apple!  Stay tuned I will try to post my family's favorite peach and cherry recipes later this week!

Sunday, April 20, 2014

Spring is official...Broilers are here!

The girls are excited to see ALL those baby chicks!

Hard to believe it is that time of year, but my freezer was insisting we didn't delay raising broiler chickens until fall (however, we may get brave this year and do a SECOND batch)!  We ordered 125 (they shipped 130) chickens this year from Central Hatchery as we are always so pleased with how well they do!  We have had them 2 weeks now and haven't lost a single one which is amazing!!  Last year was our first year of using all organic feed and we were incredibly impressed with how well they grew and their overall health was so much better (we didn't lose near as many last year as we had in the past).  This year we took it one step further and locally sourced all of our organic feed!!